Now a couple of notes about how to structure and produce the post…
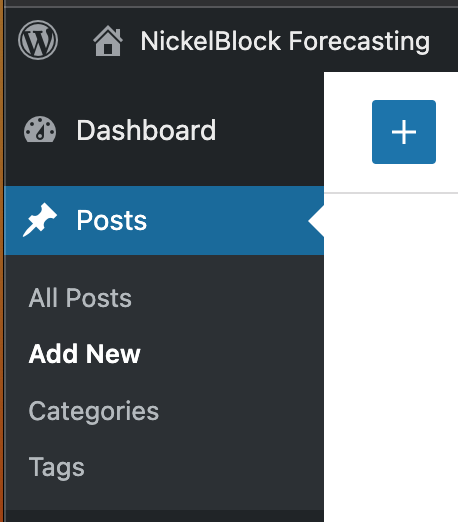
When you first log in to write a post, you’ll want to click on “Posts” and then “Add New”
Once that loads up, you’ll be greeted with this:
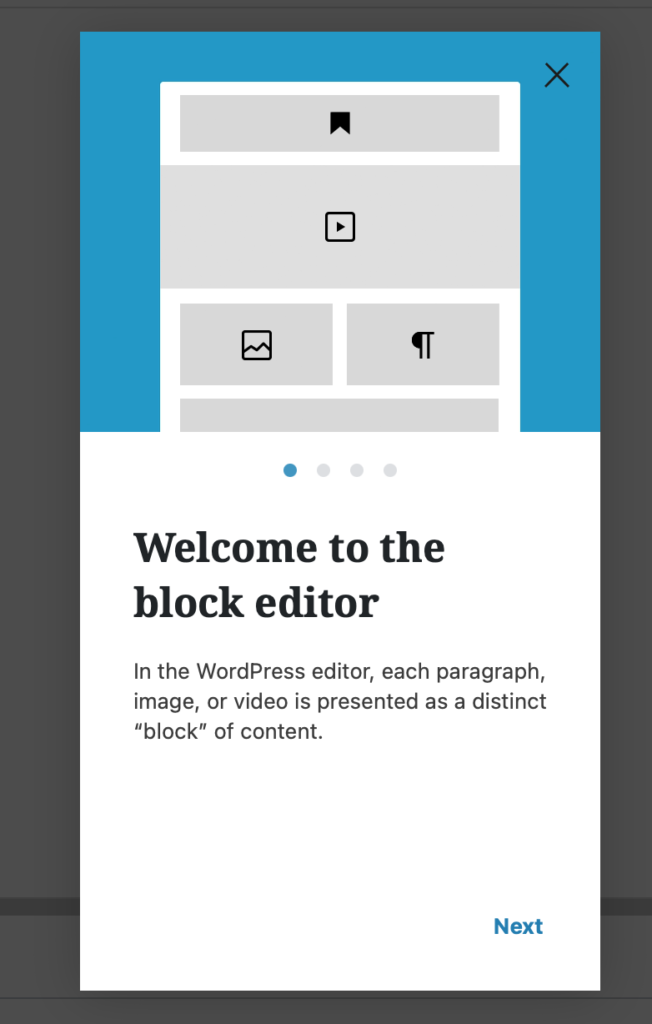
That will guide you through – very briefly – how the editor works. Then you’ll see this:
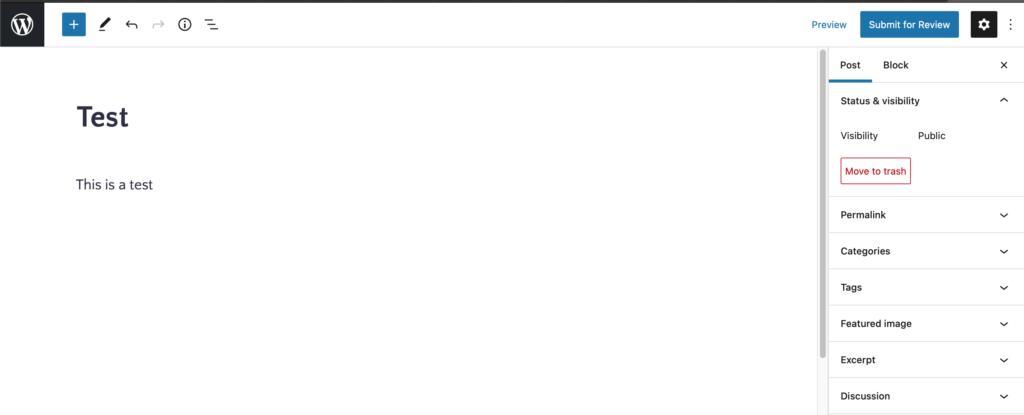
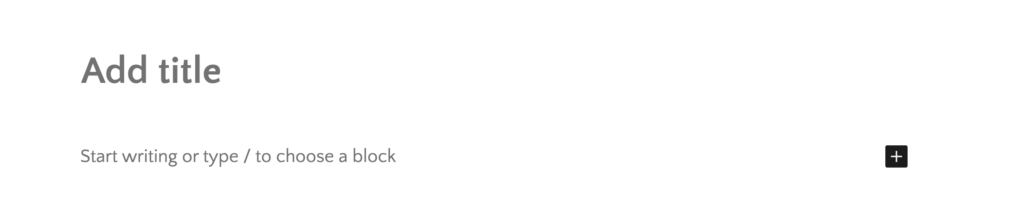
Well, almost. You will have “Add Title” and “Start writing or type / to choose a block” that looks like this:
At this point, I prefer to make some changes to get it set up for how I like to write – but you can set your dashboard up however you prefer.
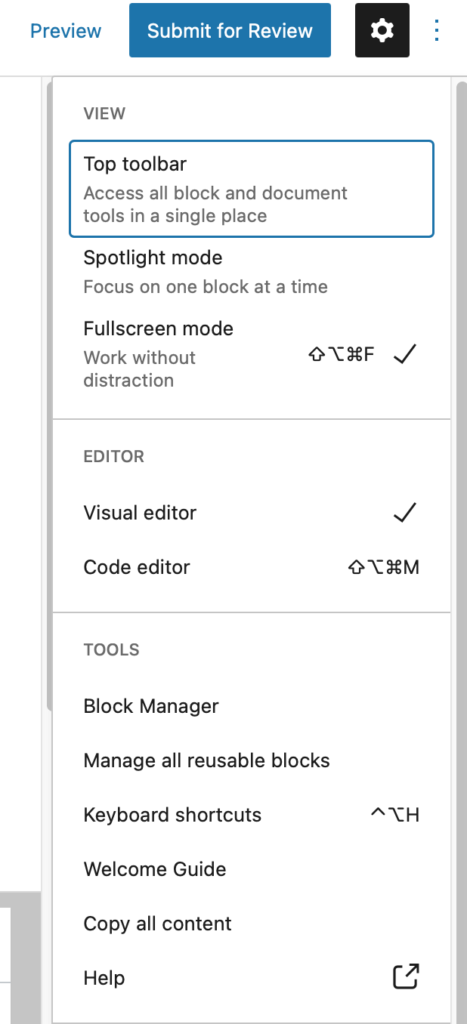
I click the three dots in the upper right hand corner and check Top Toolbar, deselect fullscreen mode, select visual editor (though, it is usually pre-selected),
The titles we use are structured like this: “[General forecast description]: Southern MS/AL/LA Weather Forecast – [DATE]”
To start writing just click where it says “start writing” And away you go!
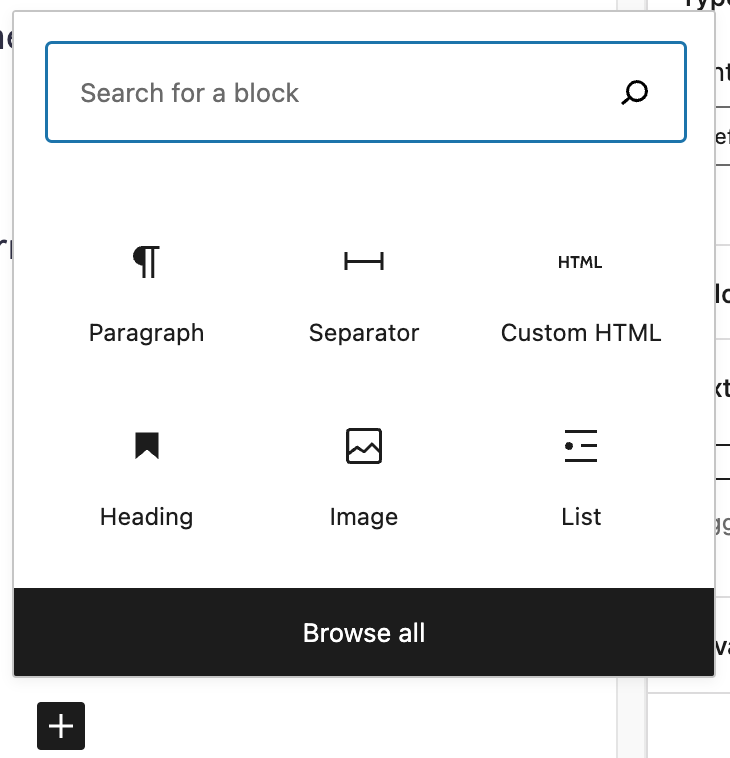
The little box with the plus sign in it is where you get to add all kinds of stuff to your post. That is a Block Editor. And it allows you to add different “Blocks” of stuff to your post. Click that and a little menu will pop up with a handful of options. You can either search for a block to add or “browse all” to see what you’d like to add to your post.
The official list includes…..
Ad Block
Archives Block
Audio Block
Blog Posts Block
Business Hours Block
Buttons Block
Calendar Block
Calendly Block
Categories List Block
Classic Block
CoBlocks
Code Block
Columns Block
Comments Block
Contact Info Block
Cookie Consent Block
Cover Block
Custom HTML Block
Donations Form Block
Embed Block
Event Countdown Block
Eventbrite Block
Feedback Button Block
File Block
Form Block
Gallery Block
GIF Block
Group Block
Heading Block
Image Block
Image Compare Block
Latest Comments Block
Latest Posts Block
Layout Grid Block
List Block
Login/Out Block
Loom Block
Mailchimp Block
Map Block
Markdown Block
Measure NPS Block
Media & Text Block
Navigation Block
OpenTable Block
Page Break Block
Page List Block
Paragraph Block
Payments
Podcast Player Block
Poll Block
Post Carousel Block
Post Content Block
Preformatted Block
Premium Content Block
Pullquote Block
Query Loop Block
Quote Block
Ratings Block
Reddit Embed Block
Related Posts Block
Repeat Visitor Block
Reusable Block
Revue Block
Row and Stack Blocks
RSS Block
Search Block
Separator Block
Shortcode Block
Site Logo Block
Site Tagline Block
Site Title Block
Slideshow Block
Social Icons Block
Spacer Block
Story Block
Subscribe Block
SyntaxHighlighter Code Block
Table Block
Table of Contents Block
Tag Cloud Block
Template Parts
TikTok Block
Tiled Gallery Block
Time to Read Block
Timeline Block
Twitter Block
Verse Block
Video Block
Vote Block
WhatsApp Button Block
Writing Prompt Block
YouTube Block
To be fair, I don’t have all of those up and running for all users to add to the site/app. But I have a lot of them. The ones you will use most are:
Paragraph
Heading
Image
Separator
Custom HTML
Table
Columns
Youtube
Twitter
And they’re really easy to use.
IMAGE BLOCK
The image block, once clicked, will pop up with options that look like this:
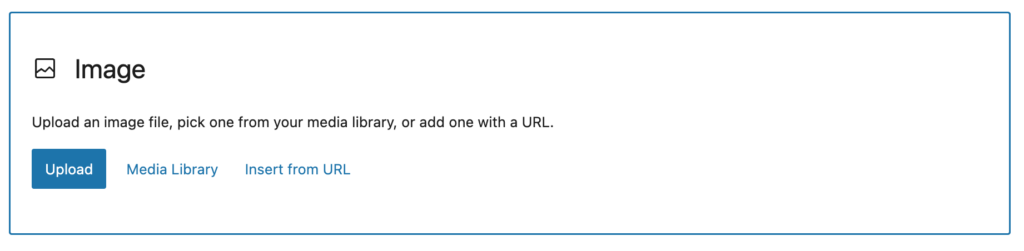
When starting out, you may not have privileges to upload content. Instead, you’ll want to insert content from another source. For instance, if you have a Twitter, Giphy, or Flickr account. I recommend starting a Twitter (for now) or Flickr account as those allow for cross-posting content.
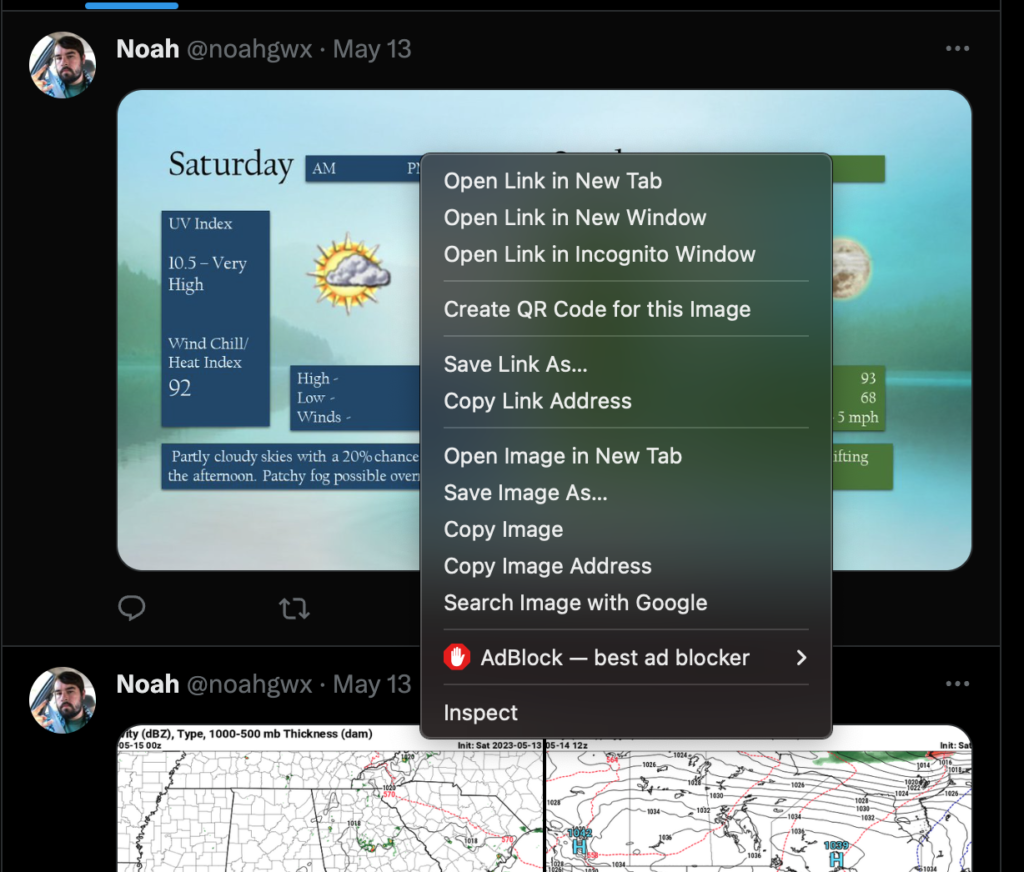
Twitter, for example, allows you to right-click and ‘copy image address’ and then come back over to the Dashboard and paste it into the “Insert from URL.”
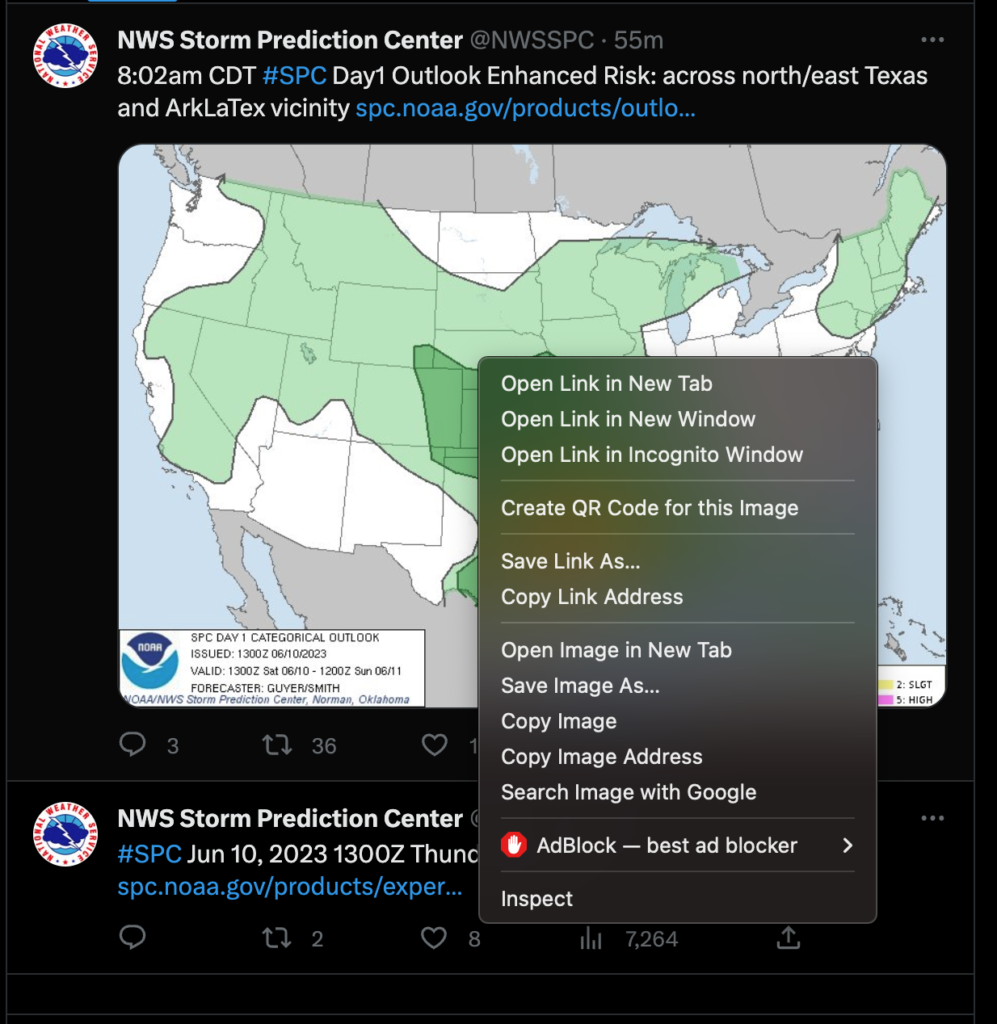
In this example I used an NWS account. If you aren’t posting your own content, any government account is safe to use as a content source. But copying URLs from other Twitter accounts would require their permission as well as a courtesy. Like this:

Adding a description and a Courtesy is very important for two reasons. First off, people need to know what they are looking at, so a description is important. Second off, a Courtesy makes sure people don’t think we are taking credit for another person’s work.
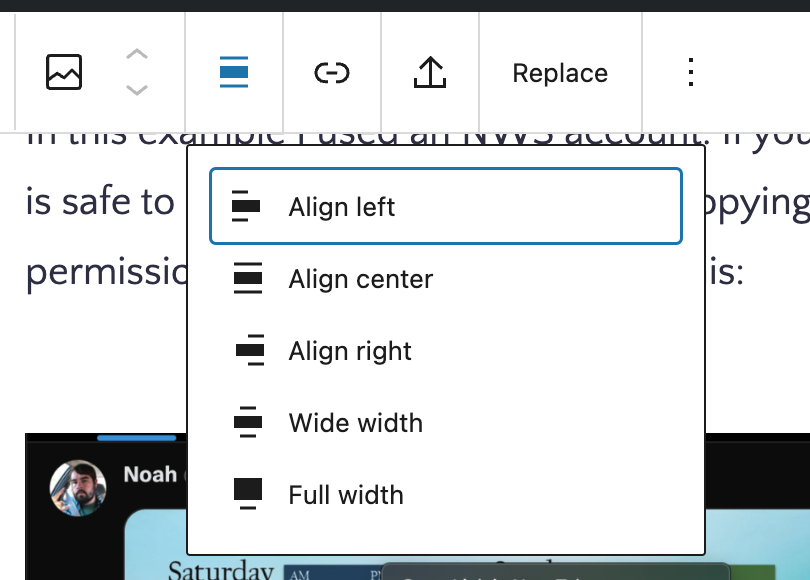
You can then edit how the image is aligned in your post. I prefer the center alignment as most folks who read your posts will be on mobile devices and it allows the image to be as big as possible.
Just click the two lines with a box in the middle and change the alignment.
SEPARATOR AND CUSTOM HTML
Often times you’ll be using these two with each other to put a break between sections of a post. Any time you add a new header, you’ll want to add a separator, custom html, and another separator above it. It should look like this:

The HTML section is where the code snippet for our Google Ads is populated, so it is super important that it is there.
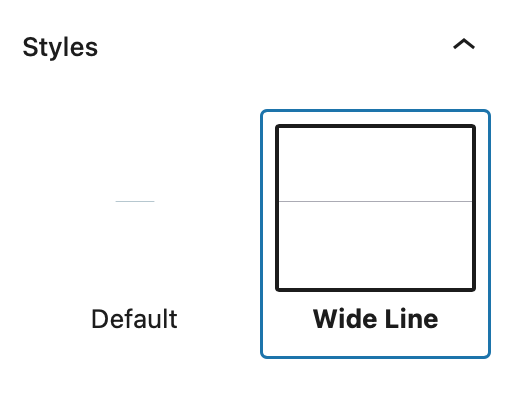
If your separators don’t extend across the entire page, check the style on the right hand side of the page.
YOUTUBE & TWITTER
For those who may be doing video forecasts, Youtube is a great place to upload your content. I prefer this because Youtube works for nearly everyone all the time and – more importantly – the forecast you create stays with you! If you simply upload it to my website, that won’t be as easy to showcase it to prospective employers.
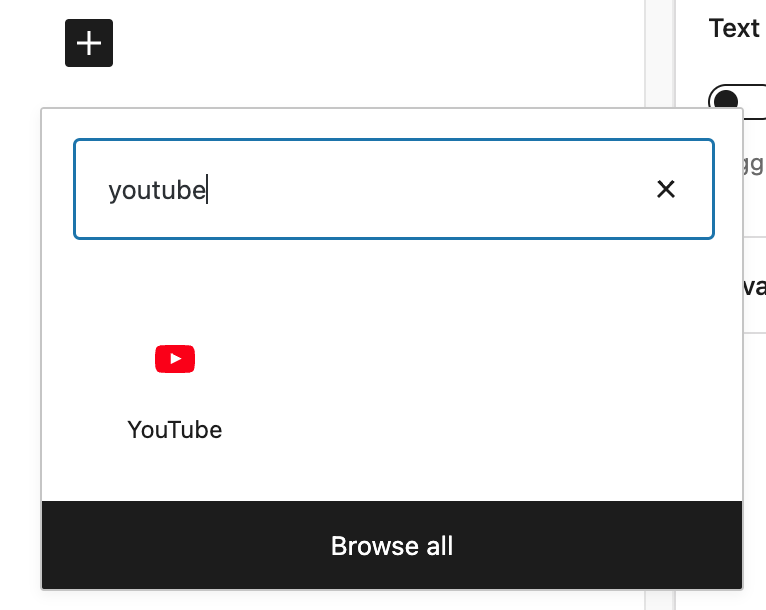
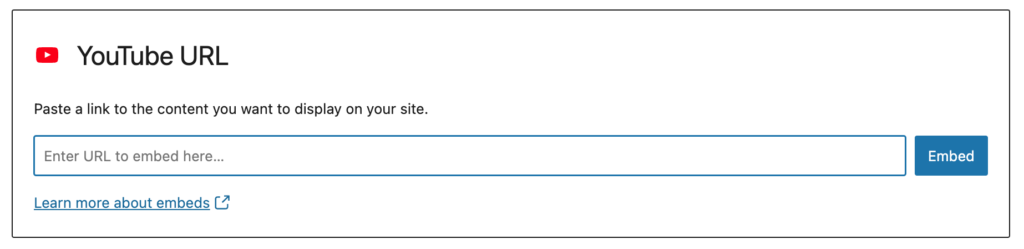
Embedding a youtube video is super easy. Click the Block Editor, add a youtube block, and insert the URL.
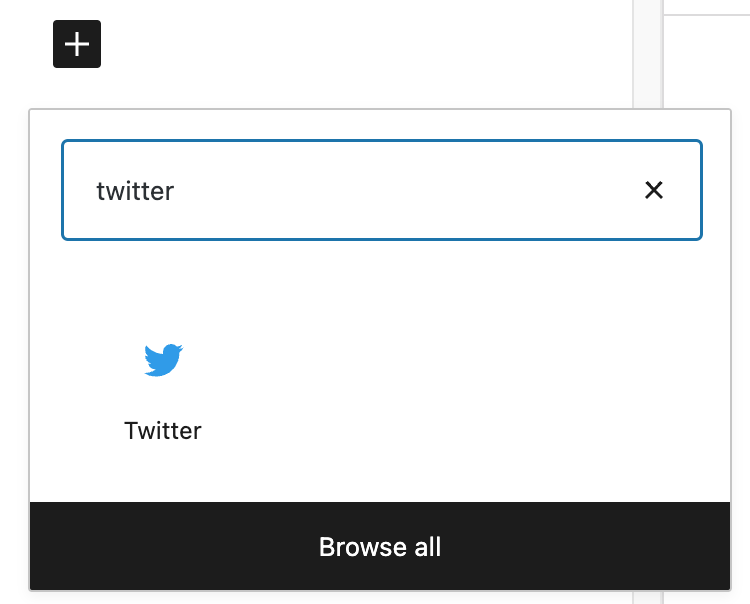
Twitter is just as easy! Have a Tweet you’d like to showcase? Insert a Tweet!

BAM! You’re good to go
Now that you know how to make a post, you can start writing! And remember if you need any more info about how to craft a post, you can always reach out to Nick!