Once you get PyCharm installed, it is time to start your first project!
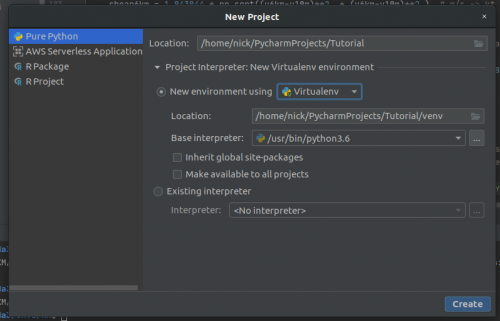
Select the Virtual Environment tab, using python 3.6 (or similar). We may have to re-visit this depending on how things go.
Once that is done, click “Create.”
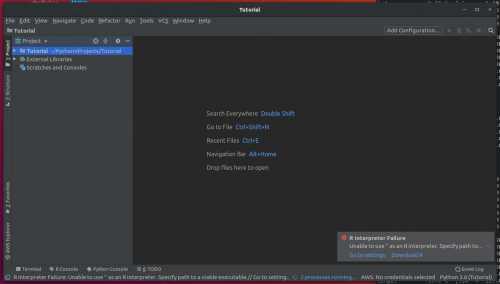
Your screen should look like this now!
But now we have to check some things to make sure everything went okay.
Head into the settings and make certain everything was set up correctly. If it wasn’t, it will look like the image below when you click on the “Project Interpreter” line.
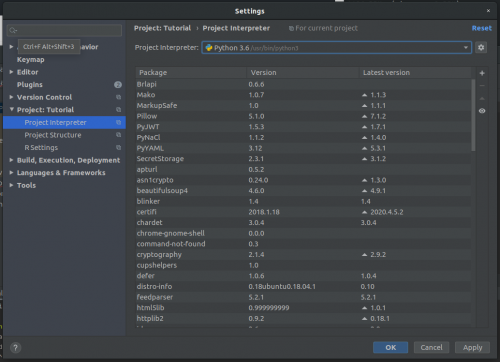
In this case, our project interpreter isn’t seeing all of the libraries we will need to use. And sometimes it is just a case of re-selecting a more robust (and accurate) interpreter.
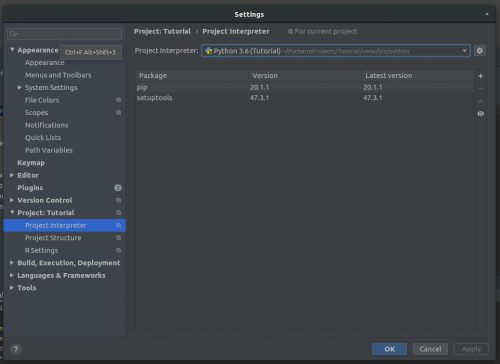
From the dropdown menu where it says “Python 3.6 (Tutorial)” you may be able to select other interpreters. If not, click the little gearbox icon next to it. It will take you to this screen.
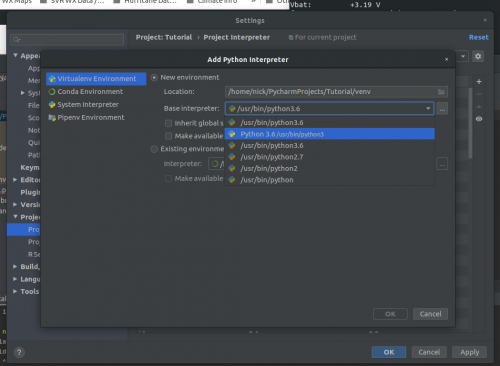
Selected the interpreter that ends with “python3” and click okay. Once that screen closes click “Apply on the next screen.
Now when you open up settings again, go to Project Interpreter, it should look like this…
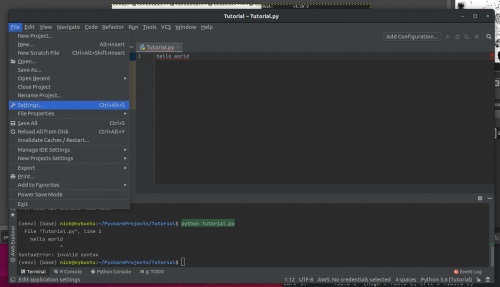
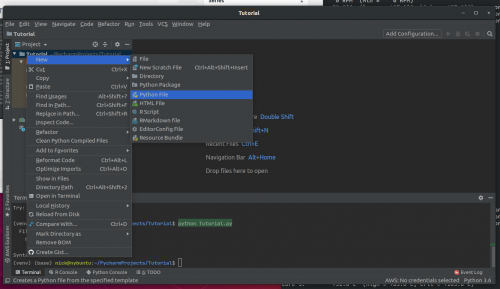
Now you’re ready to go! It is time to make a new python file. Right click on your project folder and under “New…” select “Python File”
Now, you can Google around to find other tutorials on where to go from here! But a good place to start is: https://rabernat.github.io/research_computing_2018/maps-with-cartopy.html


